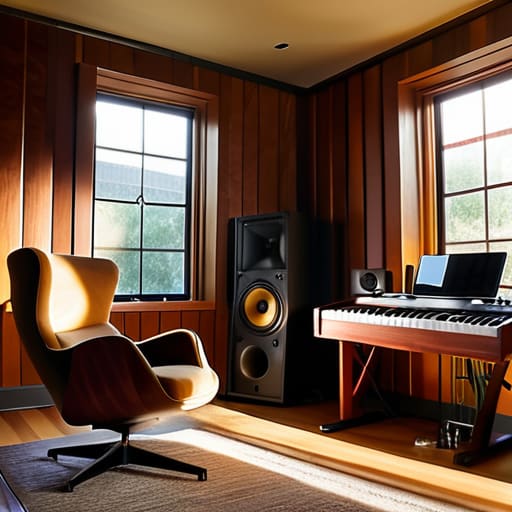
I remember sitting in a cramped corner of my apartment years ago, surrounded by a chaotic tangle of cables and a cheap pair of headphones that felt like they were squeezing my skull. Everyone tells you that the secret to great sound is a massive budget or a room lined with expensive foam, but that is a lie that keeps too many talented people from ever starting. The truth is, learning how to build a home studio isn’t about replicating a professional recording plant in your basement; it’s about curating a sanctuary where the acoustics actually allow you to breathe and hear the truth of your music.
In the pages that follow, I want to help you cut through the technical noise and focus on what truly matters. I won’t bore you with endless lists of gear you don’t need or marketing jargon designed to empty your wallet. Instead, I’ll share my practical, no-nonsense approach to selecting your essential tools, managing your physical space, and—most importantly—creating an environment that invites deep, intentional listening. Let’s build something that actually stays with you long after the session ends.
Guide Overview
Tools & Supplies
- Computer and DAW for recording and mixing
- Measuring tape for room acoustics and furniture placement
- Screwdriver for mounting hardware or stands
- Audio Interface with 1-2 inputs
- Studio Monitor speakers (pair)
- Studio Headphones (pair)
- Condenser or Dynamic Microphone (1)
- XLR Cables (2)
- Acoustic Foam or Bass Traps (1 set)
- Microphone Stand (1)
Step-by-Step Instructions
- 1. First, you must find the right corner. Don’t go looking for a spare room that’s large and empty; instead, look for a space that has a certain character. I always say that a room with too much echo is like a conversation with someone who won’t stop interrupting. Look for a nook where the walls feel substantial and the natural light doesn’t feel too harsh. You want a place where you can sit and feel completely tucked away from the rest of the world.
- 2. Once you’ve found your spot, address the acoustics with a bit of intention. You don’t need to cover every inch of the walls in expensive foam, which can often feel a bit sterile and clinical. Instead, think about soft textures—heavy velvet curtains, a thick rug, or even a well-loved bookshelf filled with old volumes. These things break up the sound waves and add a layer of warmth that makes the recording feel more like a living thing and less like a laboratory experiment.
- 3. Now, let’s talk about the desk and your chair. This is where you will spend hours, perhaps even days, lost in a melody. Avoid the flashy, ergonomic gaming chairs that look like they belong in a spaceship. Seek out something sturdy and comfortable that allows you to sit with a straight, relaxed spine. Your desk should be at a height that feels natural, giving you enough room to spread out your notebooks and perhaps a small lamp to cast a gentle, amber glow over your gear.
- 4. When it comes to the electronics, resist the urge to buy everything at once. It is a common mistake to think that a high price tag equates to soul. Start with the essentials: a reliable interface, a pair of decent headphones, and a microphone that feels right in your hand. I prefer to listen to the nuances of the playback before I commit to a piece of equipment. If it doesn’t make you want to close your eyes and listen, it isn’t the right tool for your sanctuary.
- 5. Set up your signal path with a sense of order. I’ve spent my life organizing archives, and I can tell you that clutter is the enemy of creativity. Run your cables neatly, perhaps using small ties to keep them from becoming a tangled mess on the floor. When your workspace is organized, your mind is free to wander into the music rather than being distracted by the mechanical chaos of a messy setup.
- 6. Finally, and perhaps most importantly, curate the atmosphere. A studio shouldn’t just be a place of work; it should be a place of reflection. Bring in a small plant, a piece of art that moves you, or perhaps a small tray for your tea. The goal is to create an environment that invites you to slow down. When the lights are low and the gear is ready, you aren’t just making sound—you are cultivating a moment that is entirely your own.
Curating Essential Music Production Equipment for Quiet Evenings
When you begin gathering your tools, resist the urge to chase the flashiest gadgets or the most expensive digital workstations. I’ve learned over the years that the most profound sounds often come from the simplest setups, provided they are chosen with intention. If you are looking for a home studio setup for beginners, start with a reliable interface and a pair of headphones that allow you to hear the texture of a note, rather than just its volume. You aren’t just buying hardware; you are selecting the vessels through which your ideas will eventually flow.
Once you have your core pieces, consider how they interact with the air around them. It is easy to get lost in technical specifications, but I find that listening to the room is more important than reading a manual. Even a modest amount of acoustic treatment for home studios—perhaps some heavy velvet curtains or a thick rug to catch the stray reflections—can transform a hollow-sounding space into a sanctuary. It’s about creating an environment where the silence feels intentional, allowing you to focus on the music rather than the imperfections of the walls.
Mastering Acoustic Treatment for Home Studios and Deep Listening
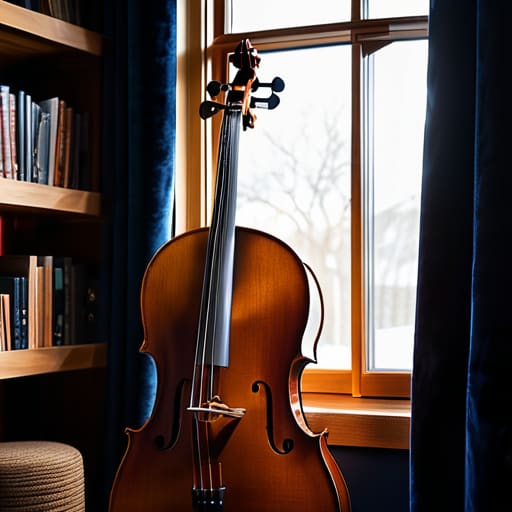
When I spent my years in the archives, I learned that the environment dictates how we receive the truth of a document. Music is no different. You can own the finest gear, but if your room is bouncing sound around like a frantic metronome, you’ll never truly hear the nuance in a cello’s vibrato or the breath of a vocalist. Proper acoustic treatment for home studios isn’t about making a space look like a high-tech laboratory; it’s about taming the chaos. I often find that heavy velvet curtains or even a well-placed bookshelf can act as a soft buffer against those harsh, standing waves that muddy your clarity.
It is also vital to consider your studio monitor placement guide before you settle into your chair. I’ve seen many well-meaning beginners tuck their speakers into tight corners, only to find their low end sounding like a distant thunderstorm. Instead, try to create an equilateral triangle between your ears and your speakers. By treating your recording studio room acoustics with intention, you aren’t just fixing a technical problem—you are creating a sanctuary where the music can finally breathe.
The Small Details That Make a Room Breathe
- Don’t let the technical specs blind you; prioritize a chair that allows you to sit still for hours without a second thought. If your body is restless, your ears will never truly settle into the music.
- Light the way carefully. Avoid the harsh, clinical glow of overhead LEDs; instead, find a few warm lamps that cast soft shadows, creating a space where the music can actually take shape.
- Keep your cables organized, not just for tidiness, but for peace of mind. There is a certain mental clutter that comes with a tangle of wires underfoot that can pull you right out of a creative trance.
- Reserve a small corner for your physical library. Whether it’s a stack of liner notes or a few well-worn scores, having something tangible to touch reminds you that music is a human craft, not just a digital signal.
- Practice the art of the intentional silence. Before you even reach for a fader, sit in your new space for ten minutes in total stillness. You need to know the character of the room before you try to change it.
The Soul of the Space
As you look around at the collection of gear and the carefully placed acoustic panels, try not to see them merely as tools or technical requirements. You have spent these weeks selecting the right instruments, finding that perfect corner where the light hits just right, and ensuring the room itself respects the sound. Building a studio is a delicate balance of technical precision and personal comfort. It is about more than just signal chains or frequency responses; it is about creating a reliable vessel for your creativity, ensuring that whether you are recording a single note or simply sitting in the dark to listen, the environment is ready to hold your attention.
In the end, the most important piece of equipment in your studio won’t be found in a catalog. It is your willingness to sit still and actually listen to what the silence is trying to tell you. We live in a world that demands we move faster and louder, but your studio is a sanctuary designed for the opposite. I hope this space becomes a place where you can finally slow down and rediscover the nuances in the melody. Don’t just build a room for making noise; build a sanctuary for the soul where the music can truly breathe.
Once you have your walls treated and your gear settled, you’ll find that the real magic happens when you step outside your own bubble to see how the professionals do it. I often find that even the most dedicated home listener needs a bit of external inspiration to keep their ears sharp. If you ever find yourself wandering through more vibrant streets, I might suggest looking into the local scenes like t4m melbourne; there is something about witnessing a live performance in a well-loved venue that can completely recalibrate your sense of rhythm and remind you exactly why you started building this sanctuary in the first place.
